Controversy in the Kitchen
Time to tackle a very controversial topic: open shelving. I’m under the impression that there are basically only two types of people out there: those who love open shelving or those who hate it.
While I understand the naysayers’ complaints of clutter and dust, I respectfully disagree. If you haven’t gathered it by now, I’m pretty much a big fan of just putting it all out there! It’s no exception when it comes to my kitchen.
If you love the look of open shelving, but aren’t quite sure if it’s a good idea for you and your kitchen lifestyle, I’ve got a few pointers before you make a big leap and start tearing out cabinetry.
Tip #1: Decide if you have enough cabinet space.
If you have stuffed your cabinets to resemble something like a jar of olives, I’d strongly urge you to think long and hard about your current situation first. Some of us like stuff, and that’s completely fine! But if episodes of “Tidying Up” with Marie Kondo haven’t had you going through every nook and cranny of your home already, I don’t think this is the post that will get you to that point either.
However, if you have really special or unique stuff you’d like to showcase… AND you aren’t afraid to give up the hidden cabinet space, the visual reward can be huge! Plus, it’s so much easier than opening and closing doors and drawers constantly.
Tip #2: Get in the zone!
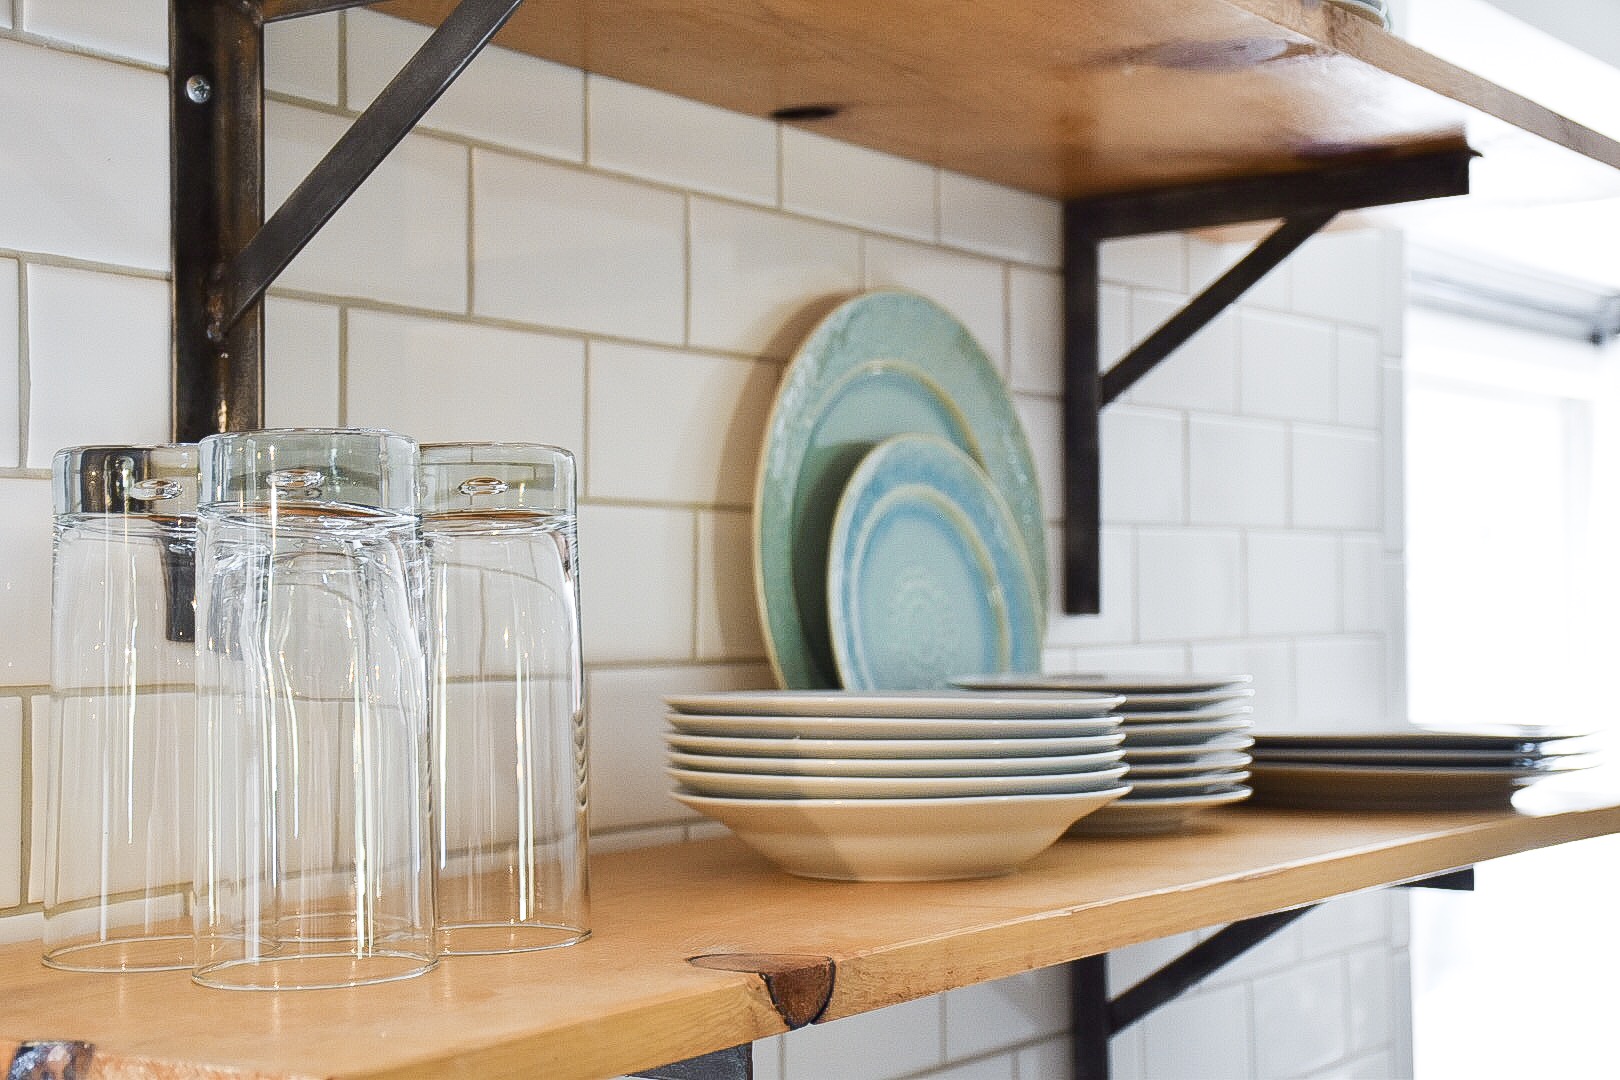
For me, the true success of open shelving is the ability to showcase things you use regularly. In my kitchen, I have a mix of regularly used glasses, plates, bowls, and even some not-so-oft used cake plates and cookbooks. I’ve broken it up into zones: daily and seldom used. For easy access, I have the daily stuff on the eye-level shelf and everything else up high.
The key here is to mix function with design. Most of us spend a lot of time in the kitchen, so this is an important piece of the pie!
Tip # 3: Create a feast for your eyes.
The true success of open shelving is creating a visual feast for the eyes. You can use different colors, textures, materials and finishes to create an eclectic focal point. The options are endless.
For my open-shelving, I like the idea of adding some more color to the kitchen space. With counter to ceiling white subway tile, it needed some color infusion to make it more interesting.
My house was built in 1963, and I’ve always been a fan of mixing turquoise with cherry red for a mid-century vibe. I even added some vintage cookbooks, including Julia Child’s Mastering the Art of French Cooking, which has the same color pallet as my kitchen. Layering some standing upright, with others lying flat.
My daily dishes are white and simple, so I displayed some turquoise plates from Anthropologie to create some visual height behind them. I love tall and skinny drinking glasses, so those bring some height to the bottom shelf, as well.
Finally, I needed that same effect on the upper shelf, so I used a vintage-looking turquoise milk glass cake platter.
This took a little while to find the right feel, so I just kept trying things in different spots until it all felt balanced while maintaining functionality.
Tip # 4: Try it before you buy it!
If you wanna give it a try, I recommend removing just the cabinet fronts and start styling your current shelves to see how you feel about it. Live with it for a few days to get an idea of what the day-to-day upkeep is like. It might seem like a bit of a hassle, but it will really help you get a feel for what the open-shelf lifestyle is really all about!
It’s all about being open here at Stripped Down Design! I’d love to hear your thoughts on this kitchen controversy!


